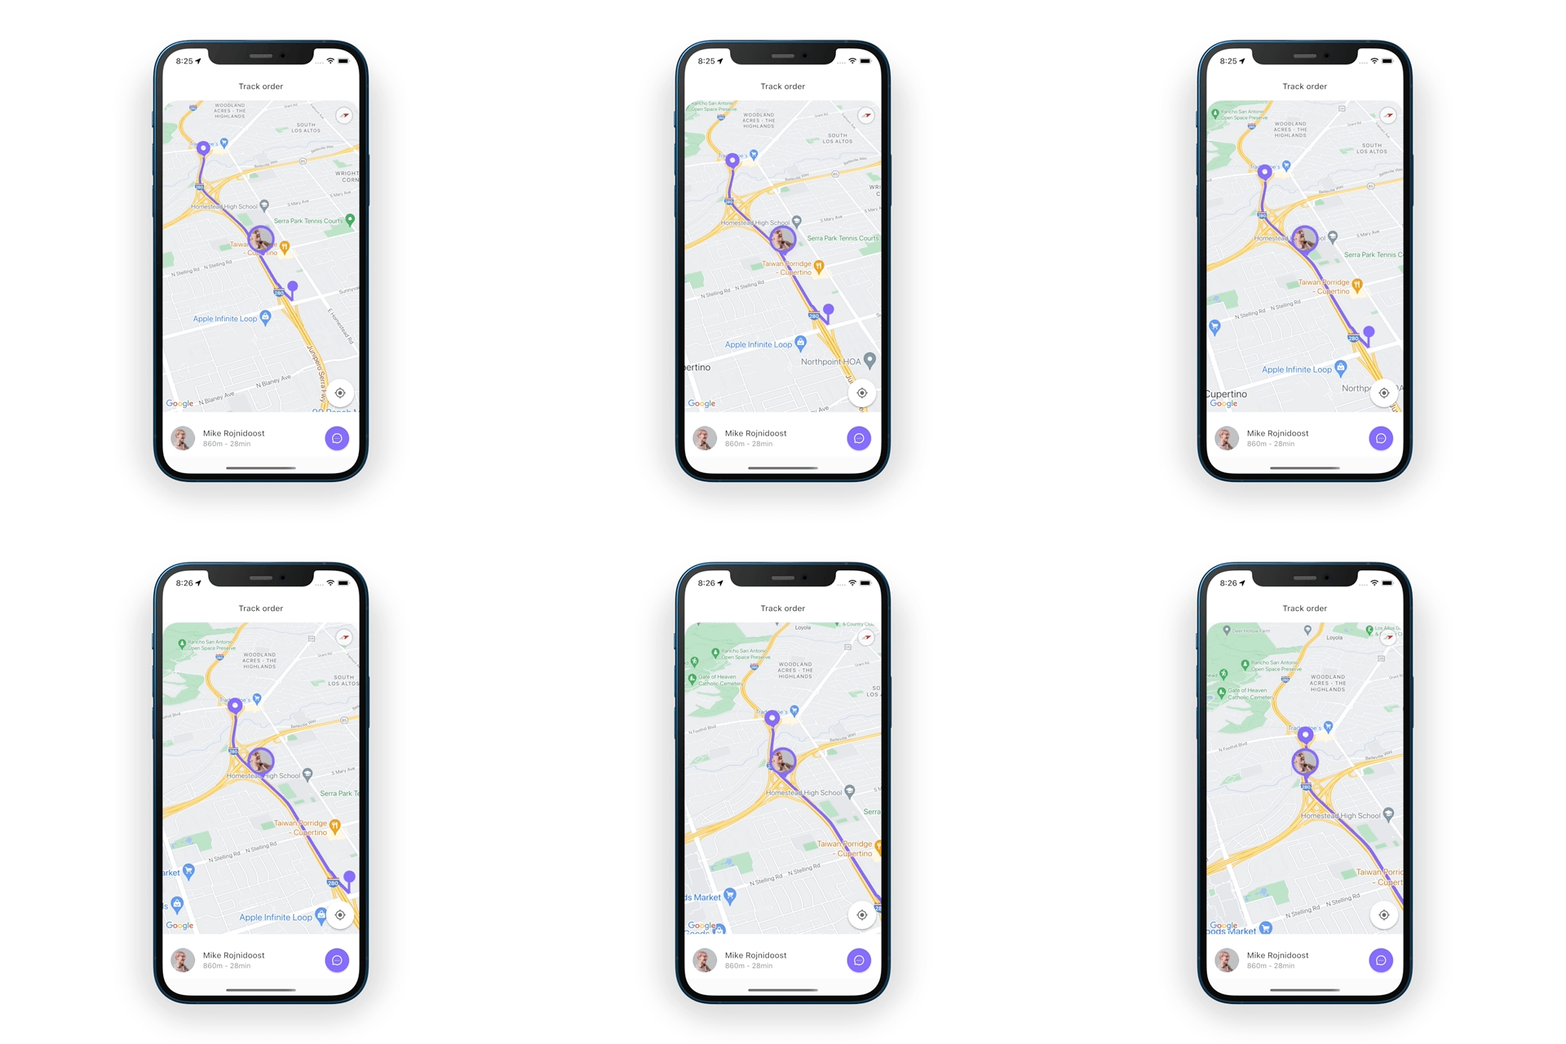
通过本课,您将学习如何在Flutter中使用谷歌地图,并进行一些定制,如设置自定义图像标记和绘制路线方向折线。在地图上添加实时位置更新。
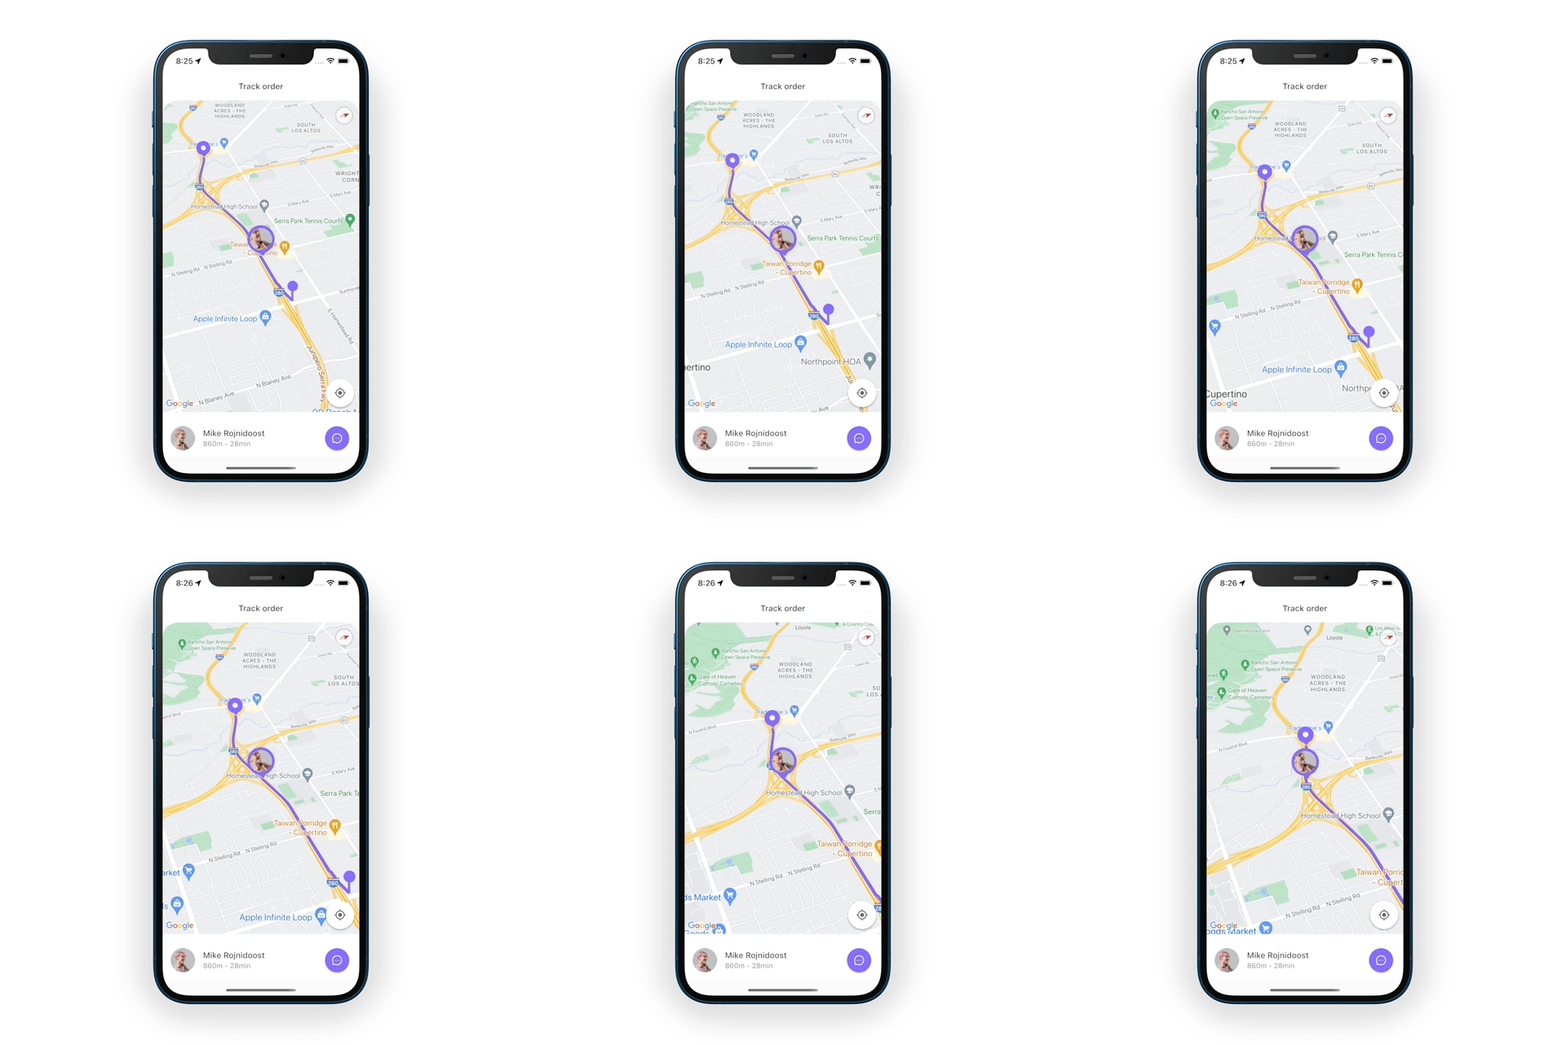
内容表 :
- 初始设置 ⚙️
- 谷歌地图 🗺
- 绘制路线方向 〰
- 在地图上实时更新位置 🔴
- 添加自定义标记/图钉 📍
注意:这篇文章假设您已经在您的项目中使用谷歌地图Flutter包和您自己的谷歌地图API密钥设置了地图。如果没有,请点击此链接,了解如何设置您的Flutter项目与谷歌地图一起工作。其他依赖项包括Flutter Polyline Points包和Flutter Location Plugin。
初始设置 ⚙️
请确保你对你的环境做了相应的准备,以便在IOS和Android上启用位置跟踪,具体方法是按照软件包的README中关于Android清单文件和iOS Info.plist的步骤进行。
一旦设置好,依赖关系看起来像👇
....dependencies: flutter: sdk: flutter cupertino_icons: ^1.0.2 flutter_polyline_points: ^1.0.0 google_maps_flutter: ^2.1.7 location: ^4.4.0...注意:截至本文写作时,上述软件包的版本是可用的–请相应更新。
谷歌地图 🗺
创建一个名为OrderTrackingPage的StatefulWidget及其相应的State类,在这里我导入了所需的包以及一些硬编码的源和目标位置(为了本教程的目的)。
import 'dart:async';import 'package:flutter/material.dart';import 'package:google_maps_flutter/google_maps_flutter.dart';class OrderTrackingPage extends StatefulWidget { const OrderTrackingPage({Key? key}) : super(key: key);@override State<OrderTrackingPage> createState() => OrderTrackingPageState();}class OrderTrackingPageState extends State<OrderTrackingPage> { final Completer<GoogleMapController> _controller = Completer();static const LatLng sourceLocation = LatLng(37.33500926, -122.03272188); static const LatLng destination = LatLng(37.33429383, -122.06600055);@override Widget build(BuildContext context) { return Scaffold( body: ... GoogleMap widget will be here ..., ); }}创建GoogleMap小组件,并将initialCameraPosition设置为源的位置。地图需要放大一些,所以把它设置为13.5。
我们需要一个标记/图钉来了解确切的位置。定义一个标记,并将其位置设置为源位置。对于目的地,添加另一个标记/图钉。
GoogleMap( initialCameraPosition: const CameraPosition( target: sourceLocation, zoom: 13.5, ), markers: { const Marker( markerId: MarkerId("source"), position: sourceLocation, ), const Marker( markerId: MarkerId("destination"), position: destination, ), }, onMapCreated: (mapController) { _controller.complete(mapController); },),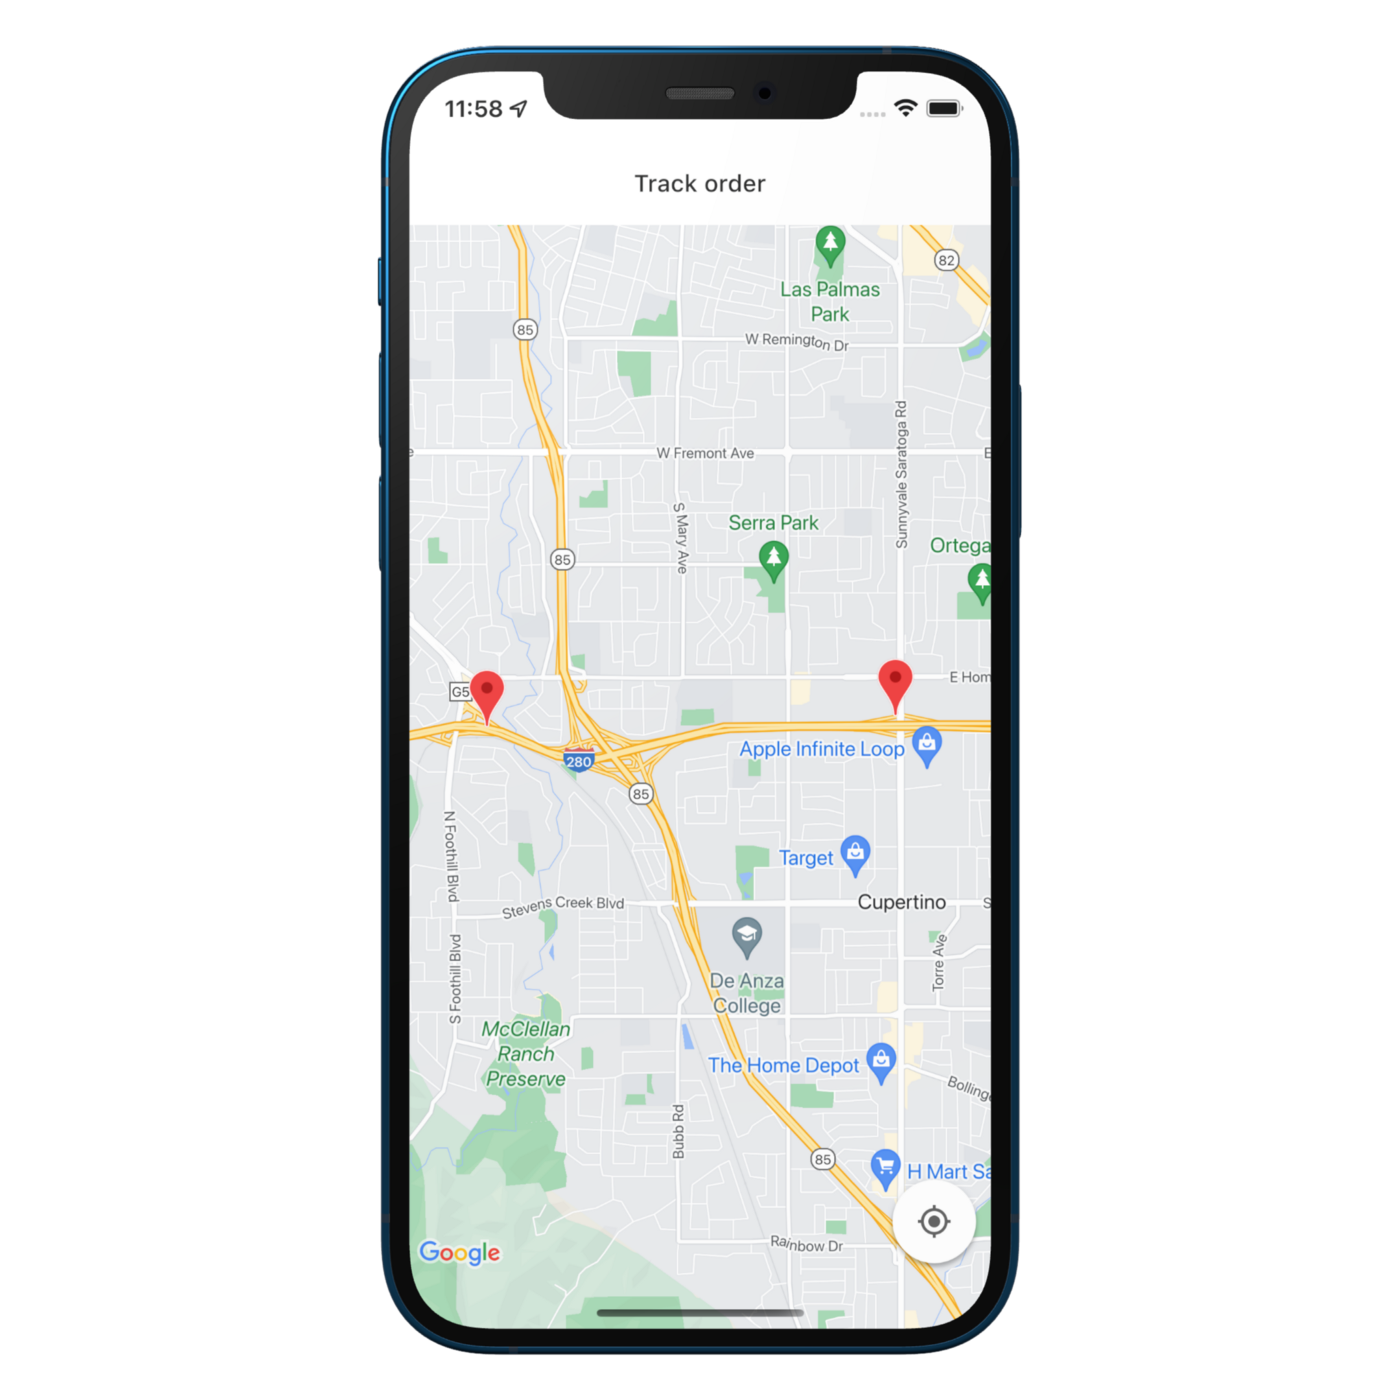
绘制路线方向 〰
接下来我想做的是画一条从目的地到源头的线。 创建一个名为polylineCoordinates的空列表。 创建一个PolylinePoints的实例和一个叫做getPolyPoints的异步函数。getRouteBetweenCoordinates方法返回多线点的列表。 需要谷歌API密钥、源和目的地位置。如果这些点不是空的,我们将它们存储到polylineCoordinates。
List<LatLng> polylineCoordinates = [];void getPolyPoints() async { PolylinePoints polylinePoints = PolylinePoints();PolylineResult result = await polylinePoints.getRouteBetweenCoordinates( google_api_key, // Your Google Map Key PointLatLng(sourceLocation.latitude, sourceLocation.longitude), PointLatLng(destination.latitude, destination.longitude), );if (result.points.isNotEmpty) { result.points.forEach( (PointLatLng point) => polylineCoordinates.add( LatLng(point.latitude, point.longitude), ), ); setState(() {}); }}在 initState方法中调用 getPolyPoints
@overridevoid initState() { getPolyPoints(); super.initState();}回到GoogleMap小组件,定义多段线。
GoogleMap(... polylines: { Polyline( polylineId: const PolylineId("route"), points: polylineCoordinates, color: const Color(0xFF7B61FF), width: 6, ), },),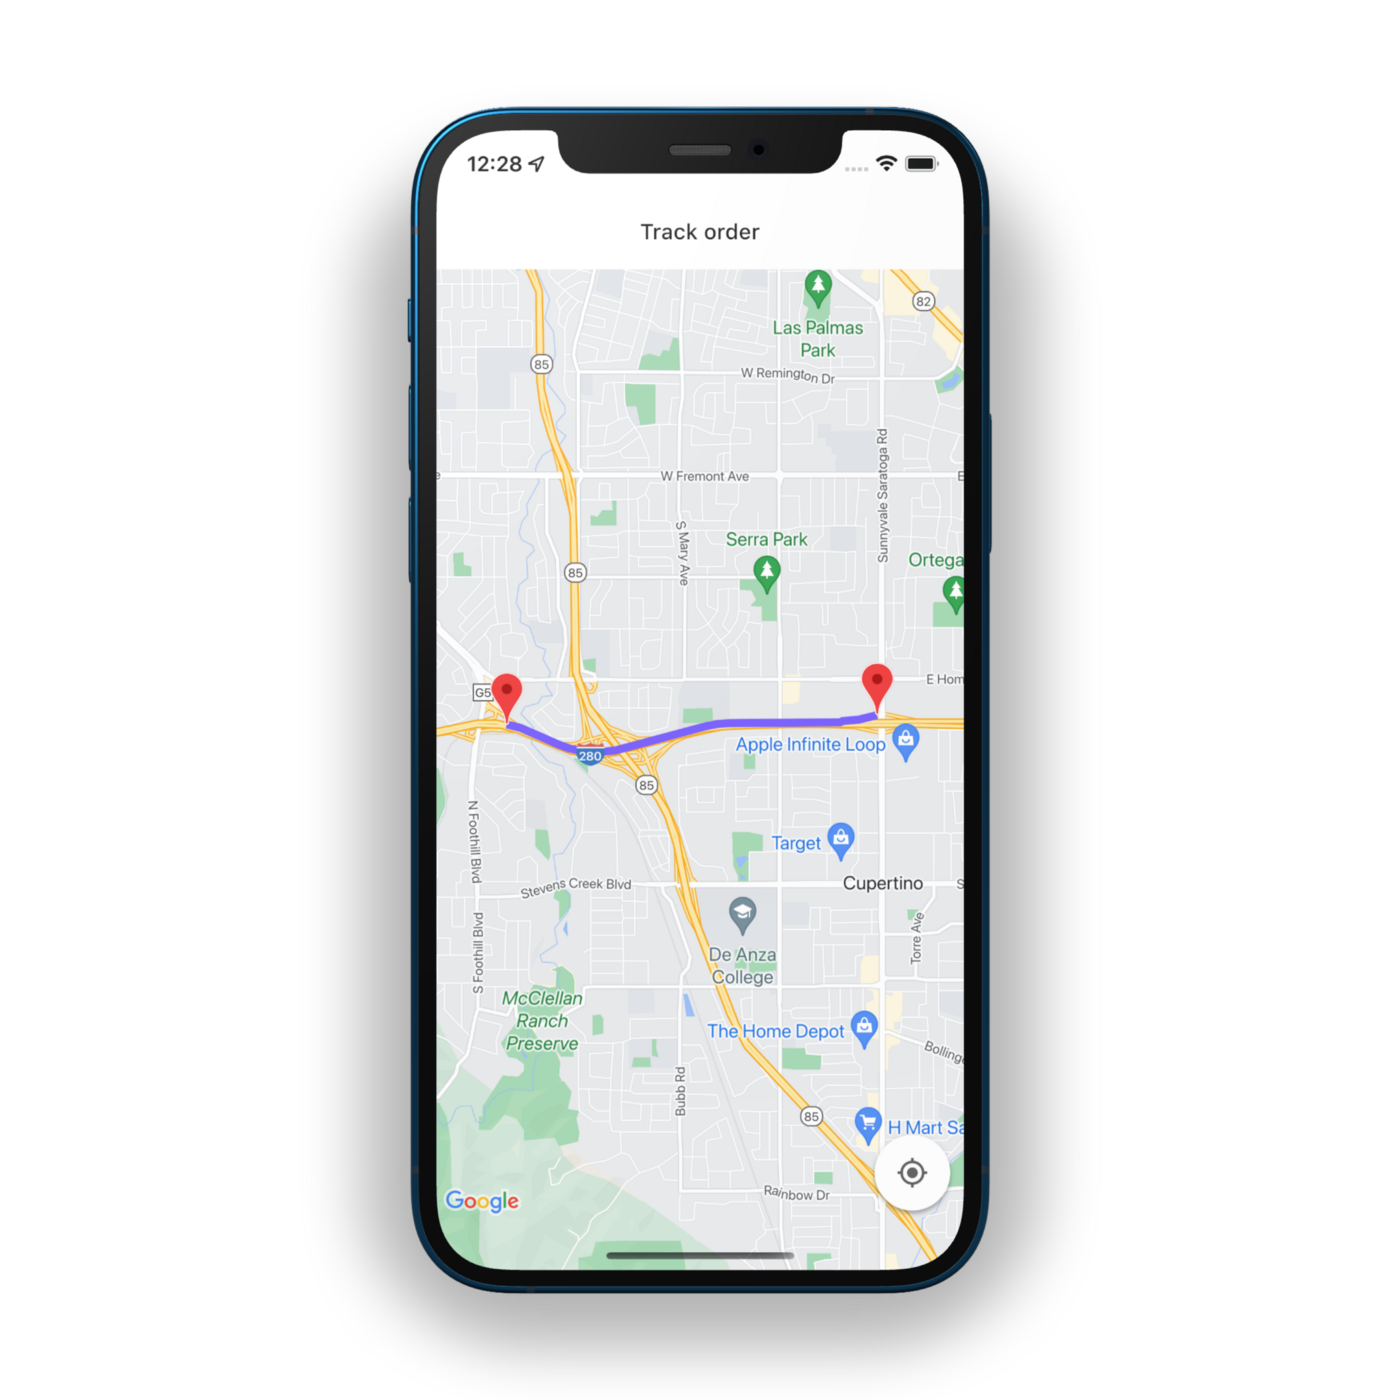
地图上的实时位置更新 🔴
现在到了最令人兴奋的部分,我们需要设备的位置。 创建一个名为currentLocation的可空变量。 然后用一个叫getCurrentLocation的函数,在里面创建一个Location的实例。一旦我们得到了位置,将当前位置设置为等于该位置。 在位置改变时,更新当前位置。使其在地图上可见,称为setState。
LocationData? currentLocation;void getCurrentLocation() async { Location location = Location();location.getLocation().then( (location) { currentLocation = location; }, );GoogleMapController googleMapController = await _controller.future;location.onLocationChanged.listen( (newLoc) { currentLocation = newLoc;googleMapController.animateCamera( CameraUpdate.newCameraPosition( CameraPosition( zoom: 13.5, target: LatLng( newLoc.latitude!, newLoc.longitude!, ), ), ), );setState(() {}); }, ); }请确保在initState上调用getCurrentLocation。
void initState() { getPolyPoints(); getCurrentLocation(); super.initState();}如果currentLocation是空的,它显示一个加载文本。同时,为currentLocation添加另一个标记/图钉,以及将初始摄像机位置改为当前位置。
body: currentLocation == null ? const Center(child: Text("Loading")) : GoogleMap( initialCameraPosition: CameraPosition( target: LatLng( currentLocation!.latitude!, currentLocation!.longitude!), zoom: 13.5, ), markers: { Marker( markerId: const MarkerId("currentLocation"), position: LatLng( currentLocation!.latitude!, currentLocation!.longitude!), ), const Marker( markerId: MarkerId("source"), position: sourceLocation, ), const Marker( markerId: MarkerId("destination"), position: destination, ), }, onMapCreated: (mapController) { _controller.complete(mapController); }, polylines: { Polyline( polylineId: const PolylineId("route"), points: polylineCoordinates, color: const Color(0xFF7B61FF), width: 6, ), }, ),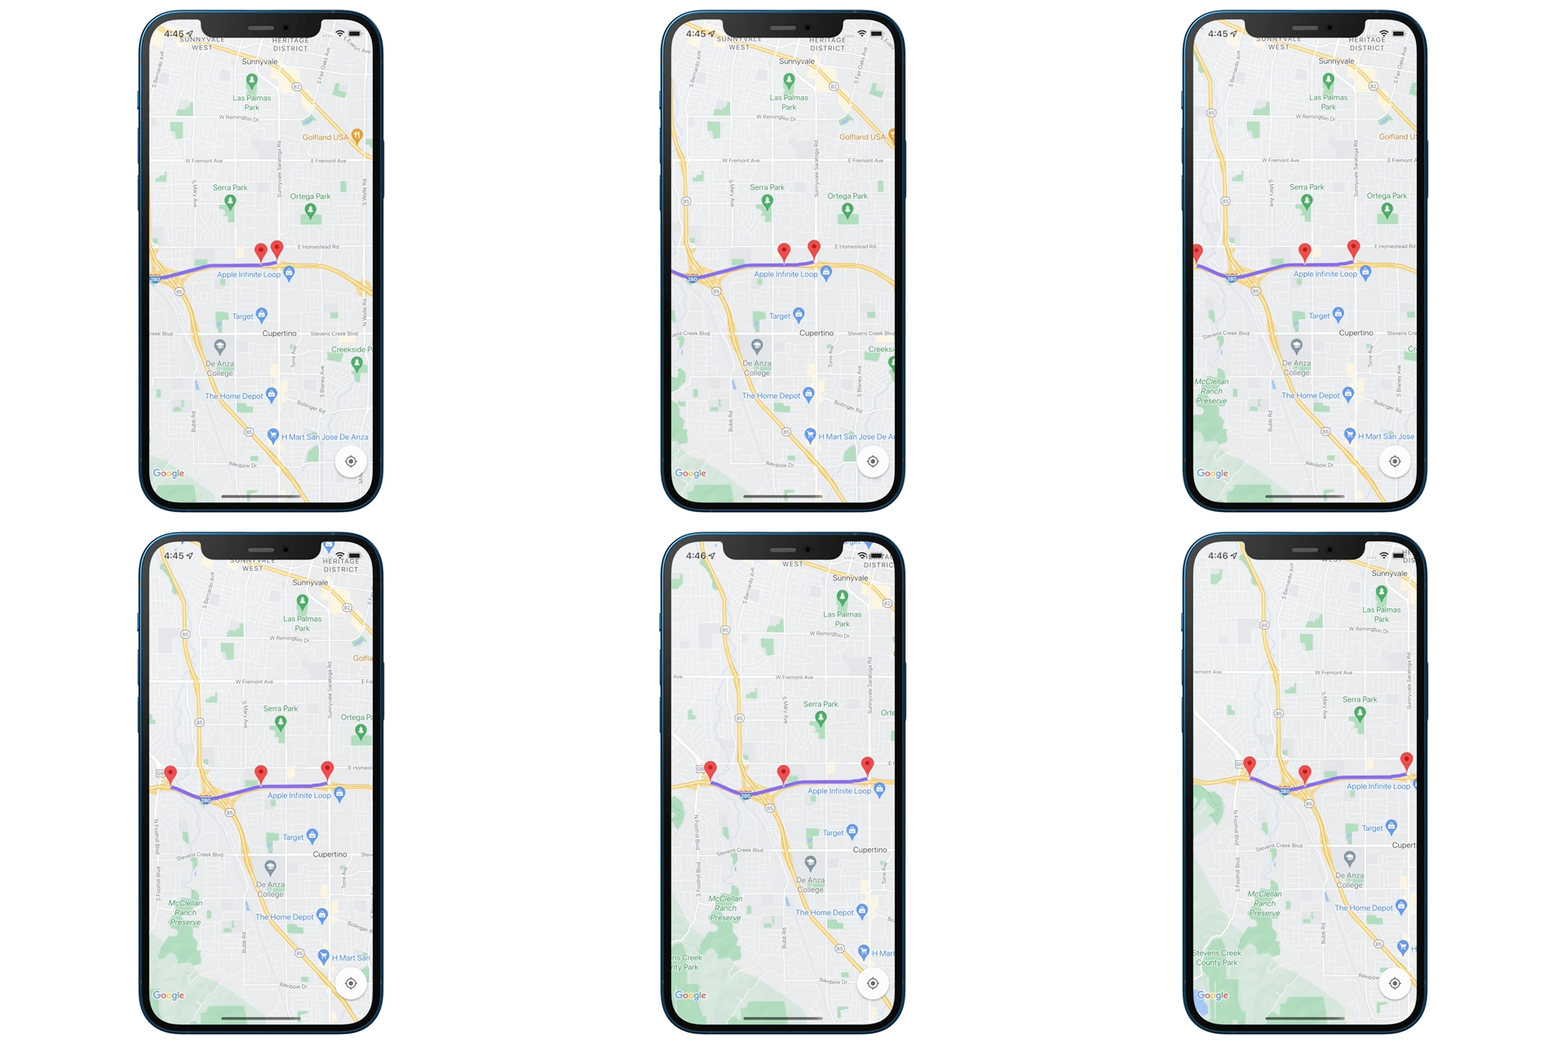
对于iOS ::
进入功能,将鼠标悬停在位置上,选择Freeway drive。我是根据这个Freeway驱动器使用源和目标位置。
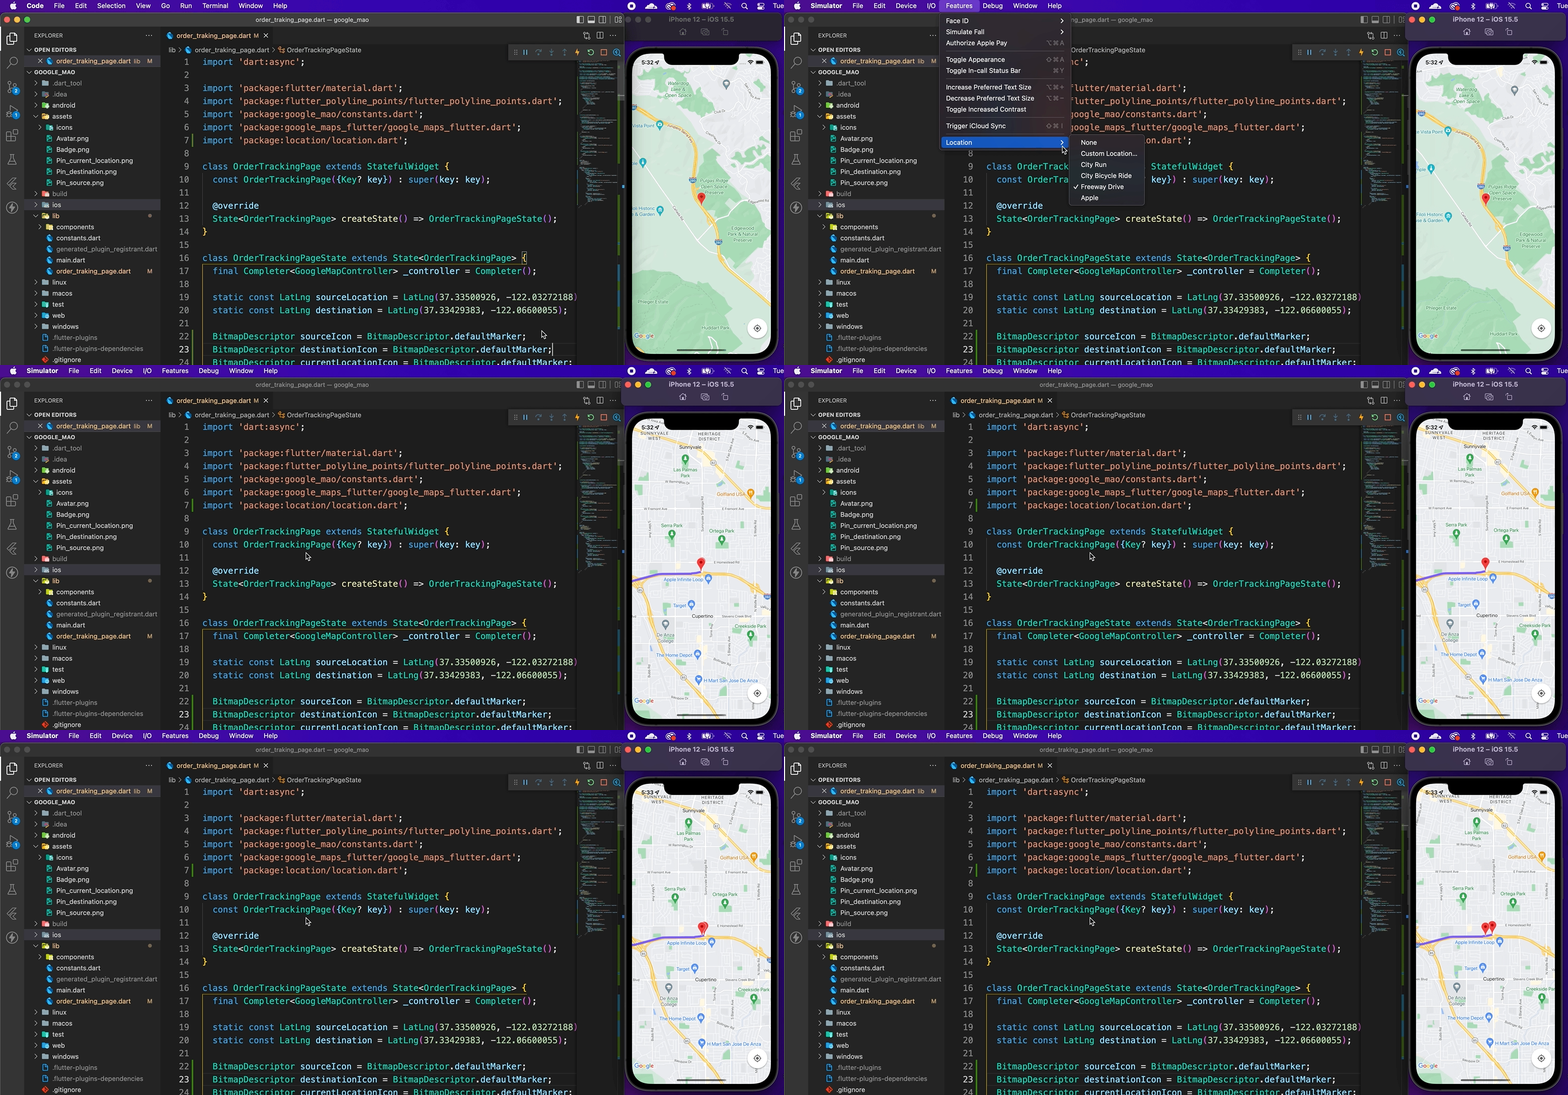
对于安卓系统 ::
如果你在Windows上或使用安卓模拟器,点击底部的三个点,并确保你在位置上。 比方说,源位置是谷歌Plex,把sourceLocation改为这个坐标,目的地位置是微软硅谷园区。 把目的地改为这个位置。现在点击 “路线 “标签,搜索微软硅谷和谷歌Plex作为起点。保存路线,设置一个播放速度,点击播放路线。 当前的位置正在移动,这就是我们想要的:
static const LatLng sourceLocation = your chosen locationstatic const LatLng destination = your chosen location添加自定义标记/图钉 📍
来源、目的地和当前位置的图标是一样的。让我们为它们使用一个自定义标记/图钉。
BitmapDescriptor sourceIcon = BitmapDescriptor.defaultMarker;BitmapDescriptor destinationIcon = BitmapDescriptor.defaultMarker;BitmapDescriptor currentLocationIcon = BitmapDescriptor.defaultMarker;void setCustomMarkerIcon() { BitmapDescriptor.fromAssetImage( ImageConfiguration.empty, "assets/Pin_source.png") .then( (icon) { sourceIcon = icon; }, ); BitmapDescriptor.fromAssetImage( ImageConfiguration.empty, "assets/Pin_destination.png") .then( (icon) { destinationIcon = icon; }, ); BitmapDescriptor.fromAssetImage( ImageConfiguration.empty, "assets/Badge.png") .then( (icon) { currentLocationIcon = icon; }, );}在initState上调用setCustomMarkerIcon
void initState() { getPolyPoints(); getCurrentLocation(); setCustomMarkerIcon(); super.initState();}在标记集的图标上做最后的润色:
GoogleMap(.... markers: { Marker( markerId: const MarkerId("currentLocation"), icon: currentLocationIcon, position: LatLng( currentLocation!.latitude!, currentLocation!.longitude!), ), Marker( markerId: const MarkerId("source"), icon: sourceIcon, position: sourceLocation, ), Marker( markerId: MarkerId("destination"), icon: destinationIcon, position: destination, ), }, ),