这是菜单或对话框的替代品,并阻止用户与应用程序的其他部分进行互动
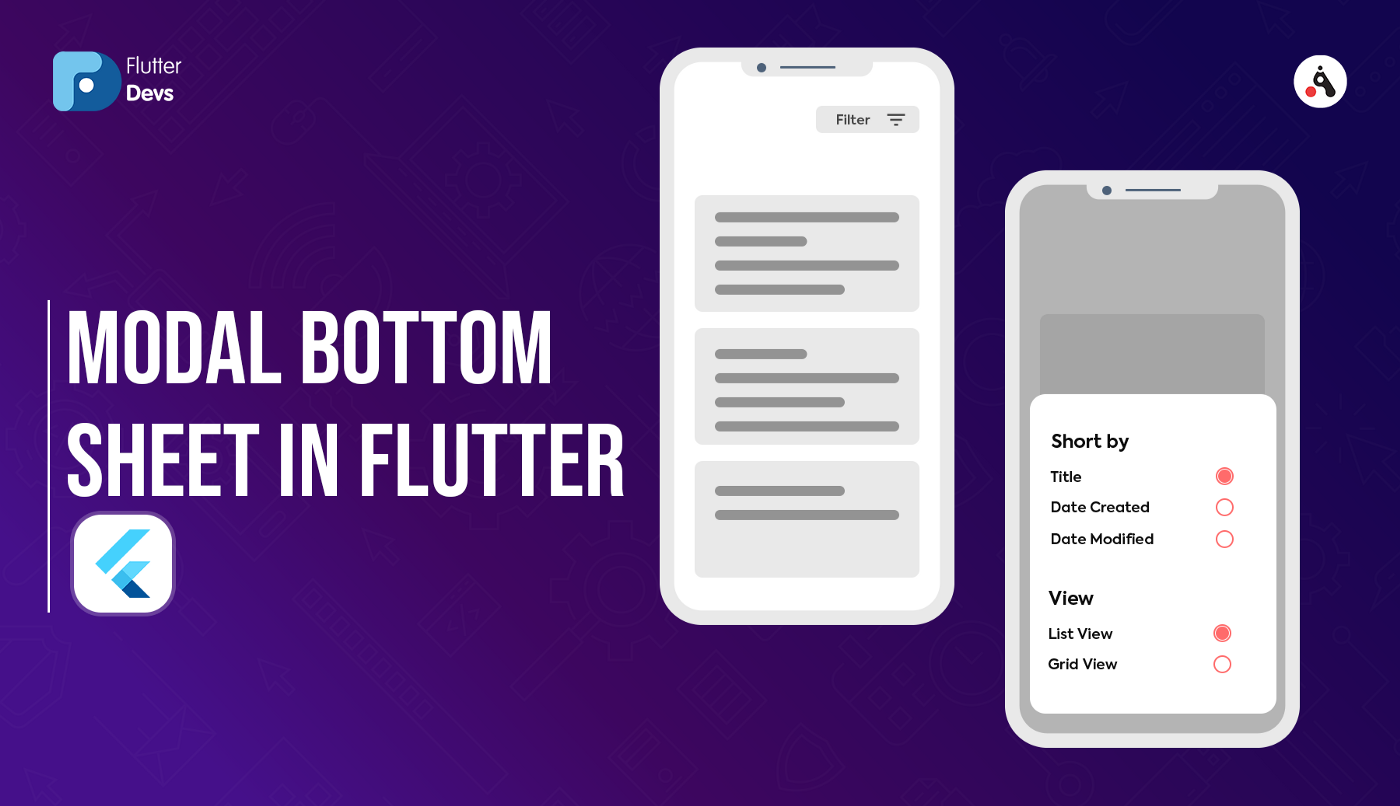
在这篇博客中,我们将探讨Flutter中的Modal Bottom Sheet Widget。 我们还将实现一个模态底部工作表小部件的演示,并描述它的属性,以及如何在您的flutter应用程序中使用它们。
Modal Bottom Sheet :
Bottom Sheet是设计上给予的一个非常好的组件。 它就像一个从底部打开的对话框。当我们必须为用户显示一些选项来进行时,我们就会使用下面的表单。在这里你可以根据你的要求使用任何小部件。
Bottom Sheet两个必要属性 :
-
BuildContext: 特定小组件的构建上下文可以随着时间改变位置。因为它可以帮助创建方法确定它要拉动的小部件,也可以帮助确定要拉动的小部件在小部件树中的位置。
-
WidgetBuilder: 构建器小部件需要传递一个小部件,但只有一个返回小部件的函数。
Bottom Sheet的一些可选属性 :
- shape: 使用形状属性,我们可以根据自己的情况给出一个圆形的边框和边框的颜色。
- background,我们可以给一个圆形的边框,边框的颜色根据我们自己的情况而定。
- elevation: 仰角属性用于提高底片的阴影,它是一个可选的属性。
演示模块:
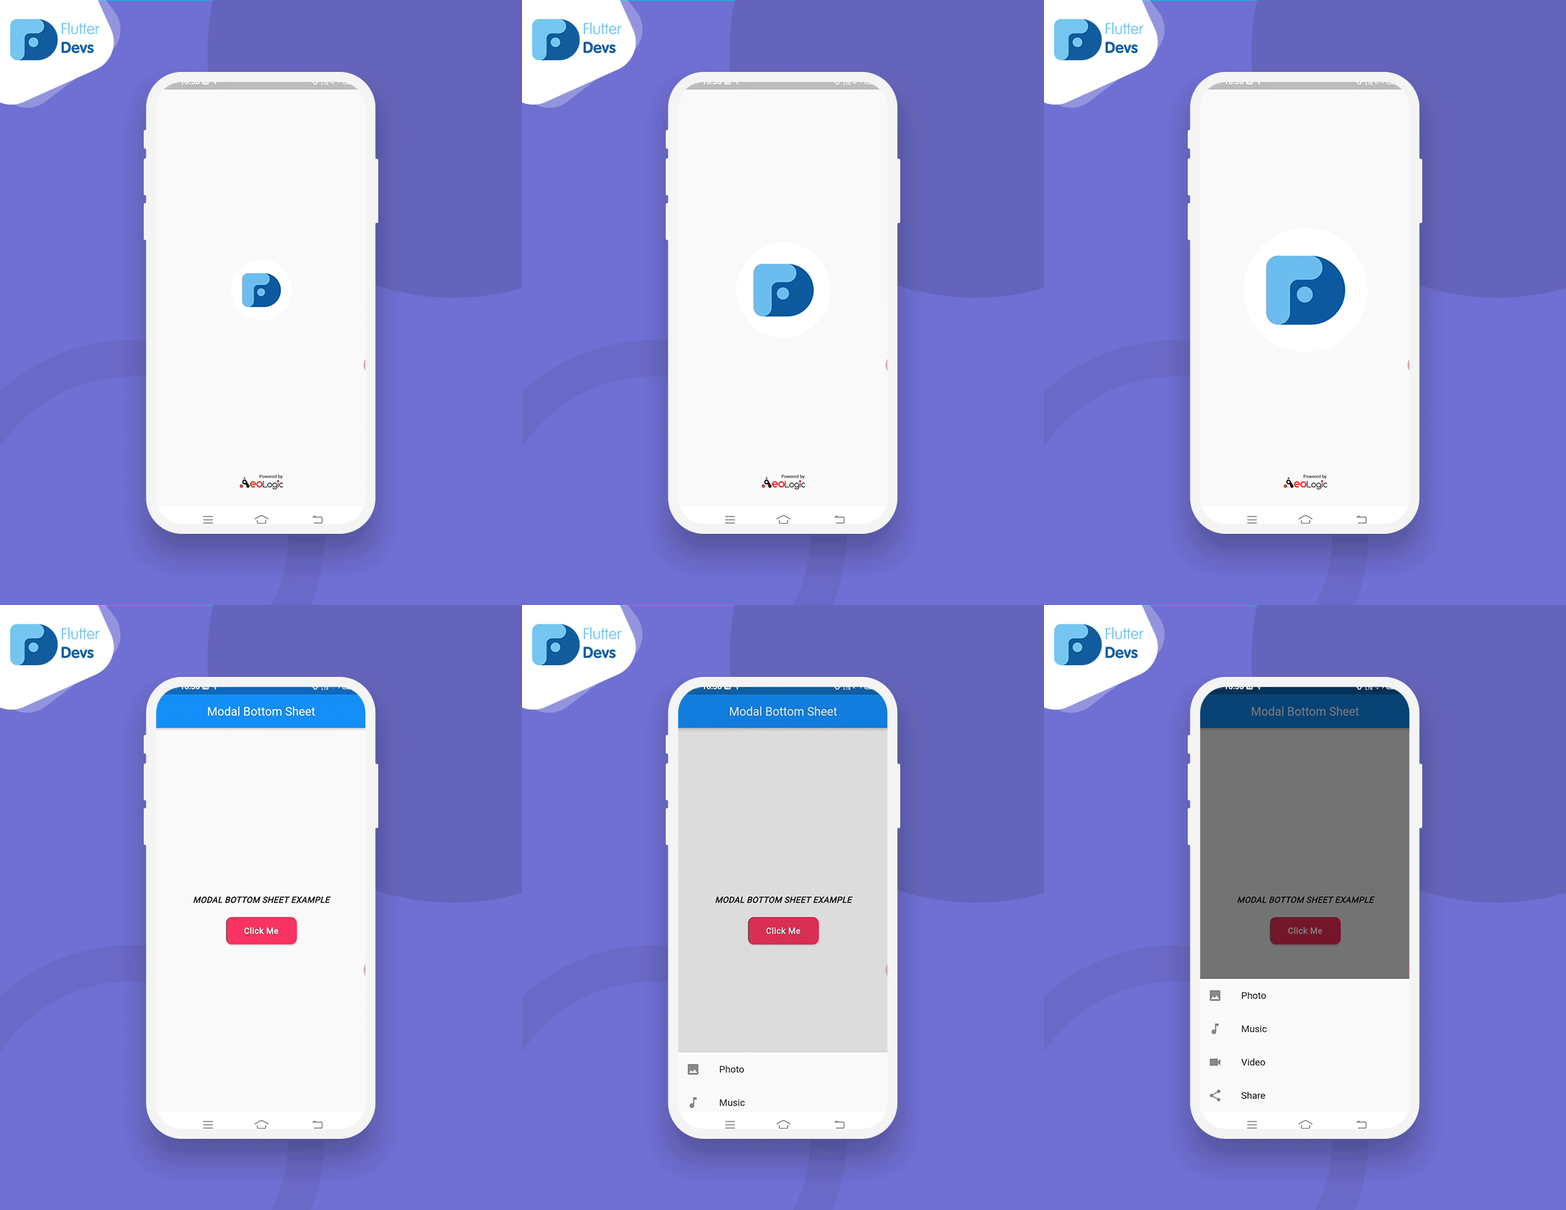
代码开始:
在lib文件夹中创建一个新的dart文件,名为modal_bottom_sheet.dart。
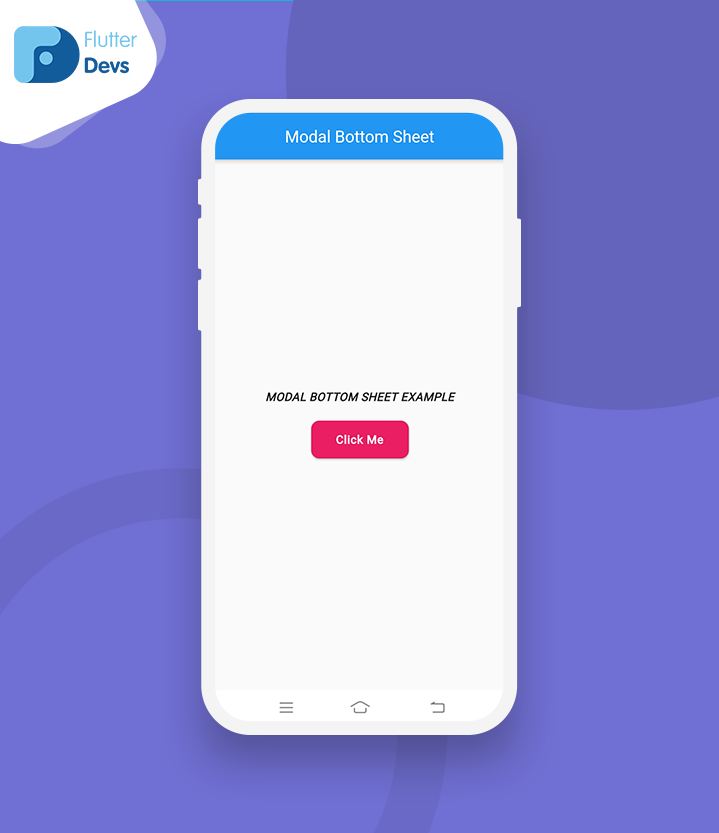
首先,我们将在模式化的底层表页屏幕上创建一个按钮。而我们将在点击时打开Sheet。
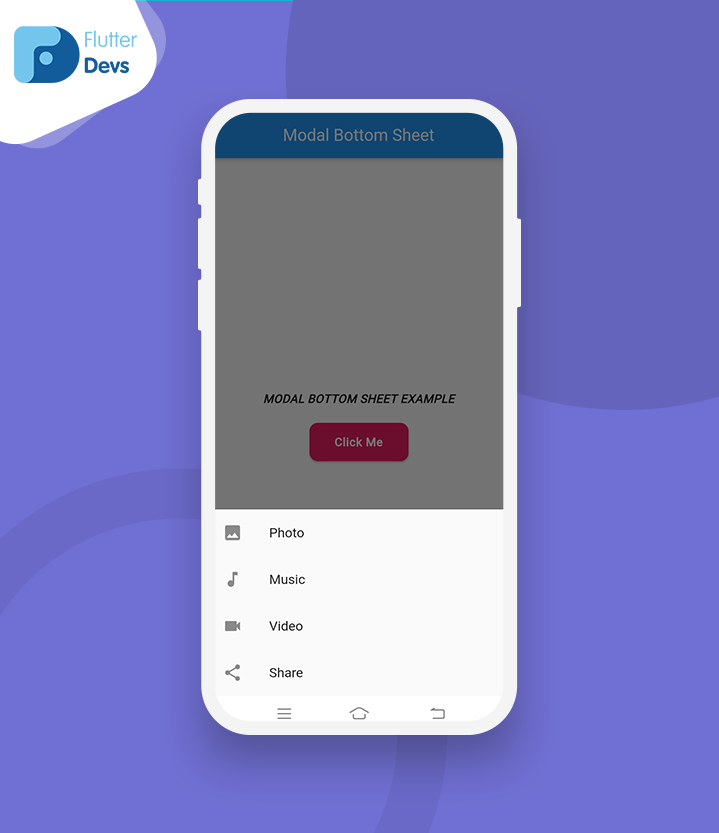
现在,在点击一个按钮时,我们将显示Bottom Sheet,在Bottom Sheet内采取了列,并在列部件内使用了List Tile部件,在其中显示了一些图像和标题。
让我们看看源代码是不是可以更深入的了解了解。
showModalBottomSheet( context: context, builder: (context) { return Column( mainAxisSize: MainAxisSize.min, children: <Widget>[ ListTile( leading: new Icon(Icons.photo), title: new Text('Photo'), onTap: () { Navigator.pop(context); }, ), ListTile( leading: new Icon(Icons.music_note), title: new Text('Music'), onTap: () { Navigator.pop(context); }, ), ListTile( leading: new Icon(Icons.videocam), title: new Text('Video'), onTap: () { Navigator.pop(context); }, ), ListTile( leading: new Icon(Icons.share), title: new Text('Share'), onTap: () { Navigator.pop(context); }, ), ], ); });当我们运行该应用程序时,我们应该得到像下面的屏幕截图一样的屏幕输出。
代码如下:
import 'package:flutter/material.dart';class ModalBottomSheet extends StatefulWidget { @override _ModalBottomSheetState createState() => _ModalBottomSheetState();}class _ModalBottomSheetState extends State<ModalBottomSheet> { @override Widget build(BuildContext context) { return Scaffold( appBar: AppBar( title: Text( 'Modal Bottom Sheet', style: TextStyle(color: Colors.white), ), centerTitle: true, ), body: Container( alignment: Alignment.center, child: Column( mainAxisAlignment: MainAxisAlignment.center, children: [ Text( "MODAL BOTTOM SHEET EXAMPLE", style: TextStyle( fontStyle: FontStyle.italic, letterSpacing: 0.4, fontWeight: FontWeight.w600), ), SizedBox( height: 20, ), RaisedButton( shape: RoundedRectangleBorder( borderRadius: BorderRadius.all(Radius.circular(10.0))), onPressed: () { showModalBottomSheet( context: context, builder: (context) { return Column( mainAxisSize: MainAxisSize.min, children: <Widget>[ ListTile( leading: new Icon(Icons.photo), title: new Text('Photo'), onTap: () { Navigator.pop(context); }, ), ListTile( leading: new Icon(Icons.music_note), title: new Text('Music'), onTap: () { Navigator.pop(context); }, ), ListTile( leading: new Icon(Icons.videocam), title: new Text('Video'), onTap: () { Navigator.pop(context); }, ), ListTile( leading: new Icon(Icons.share), title: new Text('Share'), onTap: () { Navigator.pop(context); }, ), ], ); }); }, padding: EdgeInsets.only(left: 30, right: 30, top: 15, bottom: 15), color: Colors.pink, child: Text( 'Click Me', style: TextStyle( color: Colors.white, fontWeight: FontWeight.w600, letterSpacing: 0.6), ), ), ], ), ), ); }}总结:
在这篇文章中,我已经解释了一个模态底层表单的演示,你可以根据自己的情况进行修改和实验。这个小小的介绍是来自于我们这边的 “模式化底层表单 “的widget。 我希望这篇博客能够为您提供足够的信息,让您在您的flutter项目中尝试使用Modal Bottom Sheet Widget。 我们将向您展示Modal Bottom Sheet是什么,并在您的flutter应用程序中使用它,所以赶紧的去试试吧!